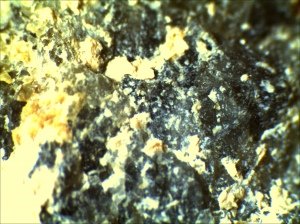
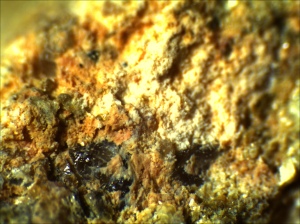
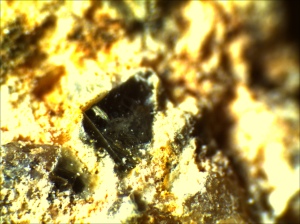
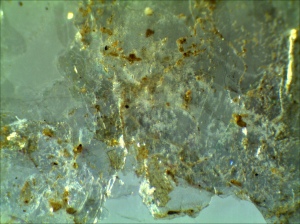
Hello fellow microscope hobbyists, I am starting my new post at blogger.com. See the pictures of my latest field trip mineral collection from Chucky Gal Mountain, North Carolina here.
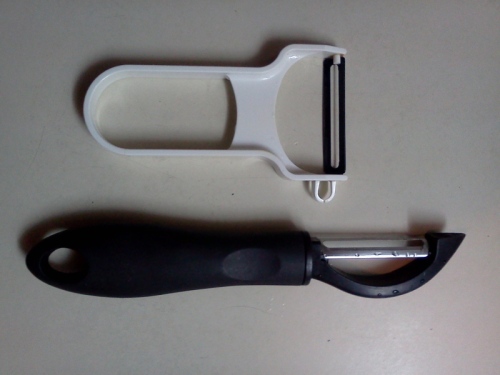
I had enought his dull peeler for a little while. It hasn’t been sharp since the first day I bought it. I finally decided to but another one. The new one is sharp. I gentle slide the new peeler on the surface of an apple. The peel just separate from the pulp without much effort. The two peelers have different styles and blade coating. I was curious about why the new peeler worked so well while the old not so well.
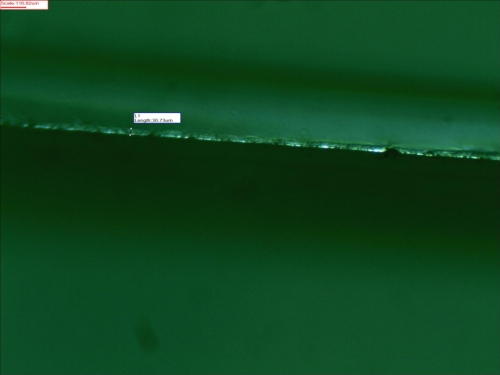
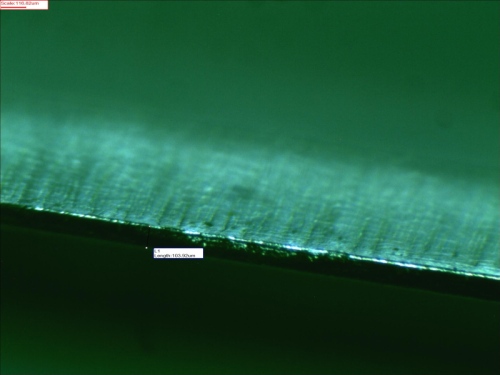
I looked them under my stereo microscope. The width of the edge of the sharp peeler (~30 uM) was only 1/3 of the dull peeler. The dull peeler seems to have a flat surface on the edge (~100 uM). The thick and flat surface is the reason that my old peeler would not peel smoothly.
The picture was taken with Tucsen Microscope Camera from the eyepiece of Ample Scientific SMPlus_24 stereo microscope.
Posted in Materials | Tagged Peeler Blade Microscope Tucsen SM Plus, Stereo Microscope | Leave a Comment »
We took a little detour to Anna Maria Island beach on our way home from Orlando, Florida. Anna Maria Island is located on the south side of Tampa bay. Aside from the beautiful sugar white sand and warm water, we love to collect some sea shells and marine fossils there. Most sea shells are broken but we found plenty of sea weeds floating close to the shore. I though that might be a good subject to look at under a microscope.
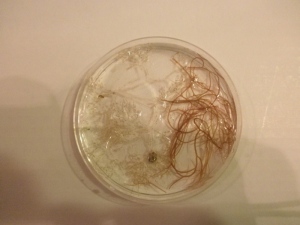
Red seaweed - noticed that the seaweed on the right are in healthy red/browish color while on the left, the seaweed is transparent.
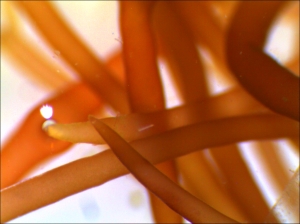
Healthy red seaweed under Ample Scientific SM-Plus-24 stereo microscope (illuminated mainly with bottom light and compensated with top light)
The video of the Bryozoan:
This is my first attempt to collect marine life for observation. I still can’t identify the species of the seaweed that I have collected. Based on the color but it seems to be more brown than red but morphologically, they look very similar to Plocamium cartilagineu. Without enough knowledge for proper identification, I would just call the seaweed for now and return here to update the proper name once they are identified.
Some seaweed identification websites:
Posted in Marine Life | Tagged Anna Maria Island Beach, Marine Life, Seaweed | Leave a Comment »
The subjects of my interests about microscopy changes from time to time. I have been crazy about rocks and minerals this summer. The temperature here has been dipped down to mid 40s degree F (7 degree C) in the early morning although the mid day temperature is still comfortably at mid 70s. I got to go out to collect some pond specimens for observation before it is too cold for any organism to be active. I choose different collection site, Briscoe Park Located at Snellville, GA.
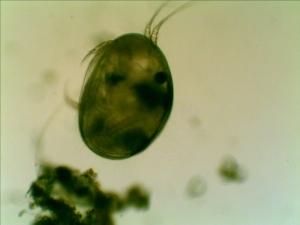
The number and variety have been drastically reduced from my early summer observation. Again, I found seed shrimp (Ostracod) in my collection.
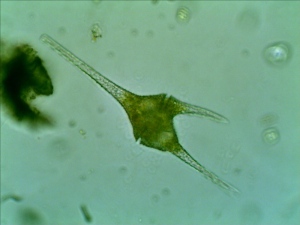
First time, I observed a dinoflagellate (Ceratium Furca). It is a flagellate protist. I can barely see the flagella because the flagella are relatively transparent.
The specimen was collected in 60 mL tube and split into a several 7 mL tubes and centrifuged in my homemade centrifuge.
Posted in Pond Life | Tagged Diatom, dinoflagellate, Microscope, Microscopy, Nexcope, Pond Life, Tucsen Microscope Camera | Leave a Comment »
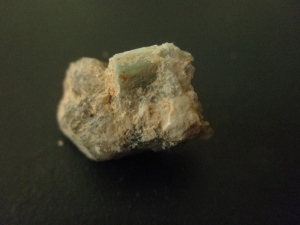
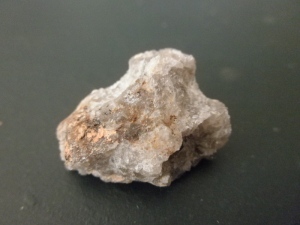
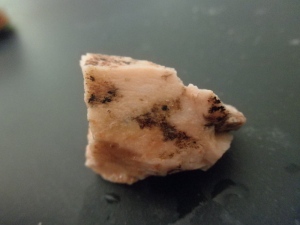
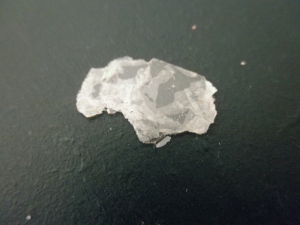
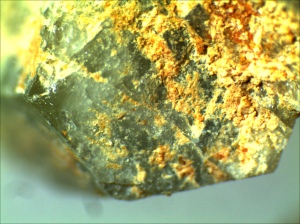
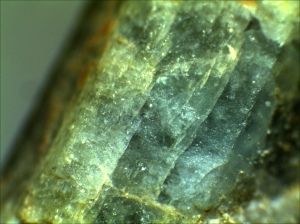
The destination of my second Georgia Mineral Society field trip is Amos cunningham Farm located in Due West/Antreville Area, South Carolina. The collection site is known for its beryl, amethyst and smoky quartz. The site is flat to rolling land of South Carolina red clay. The digging areas have been machine trenched down to white kaolite veins that have the beryl and quartz crystals. Dirt and rock removed from the trenches and piled up, also contain beryl and are good places to search.
Some macro shot of the specimen collected in the field trip:
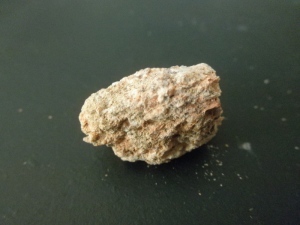
Aside from felspar, there are also plenty of Pumice in the kaolite vein. Pumice is a very porus and light rock. If you put them in water, you can heal the bubbling sound.
Images of the collection under stereo microscope:
The macro shot was captured by Olympus Stylus 7010 camera in super macro mode. The photomicrograph was the specimens are taken with Tucsen Microscope Camera from Ample Scientific SM-Plus-24 Stereo Microscope.
Posted in Mineral and Rocks, Uncategorized | Leave a Comment »
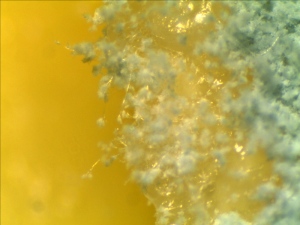
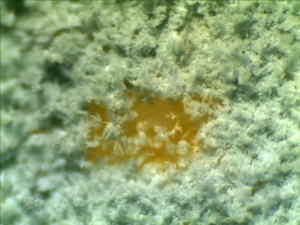
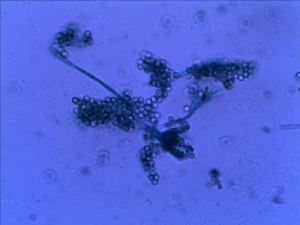
A piece of left over cheddar cheese was left in the refrigerater since our last field trip a few weeks ago. A layer of white cheese mold have been growning on the surface.
Some molds were scrapped off from the cheese and shaked in a vial with 2mL water. The mixture then stained with Malachite green.
Posted in Mold | Tagged Ample scientific SM Plus-24 Stereo Microscope, Cheese Mold, Fungus, Malachite Green, Nexcope, Tucsen Microscope Camera | Leave a Comment »


 Free Living FreshWater Protozoa by DJ Patterson
 How to Know the Protozoa
 Ecology and Classification of North American Freshwater Invertebrates by Thorp and Covich